Quilting a Vintage Top
I have quilted thousands of items in the last 10 years of my longarm career, but the ones I find most fun and challenging are vintage tops. For whatever reason, maybe the maker died, maybe they were tired of piecing and put it away for ‘awhile’, or maybe it was an affordability issue? Sadly, we’ll never know why, but now they are quilt top orphans. My goal is to get ‘em done!

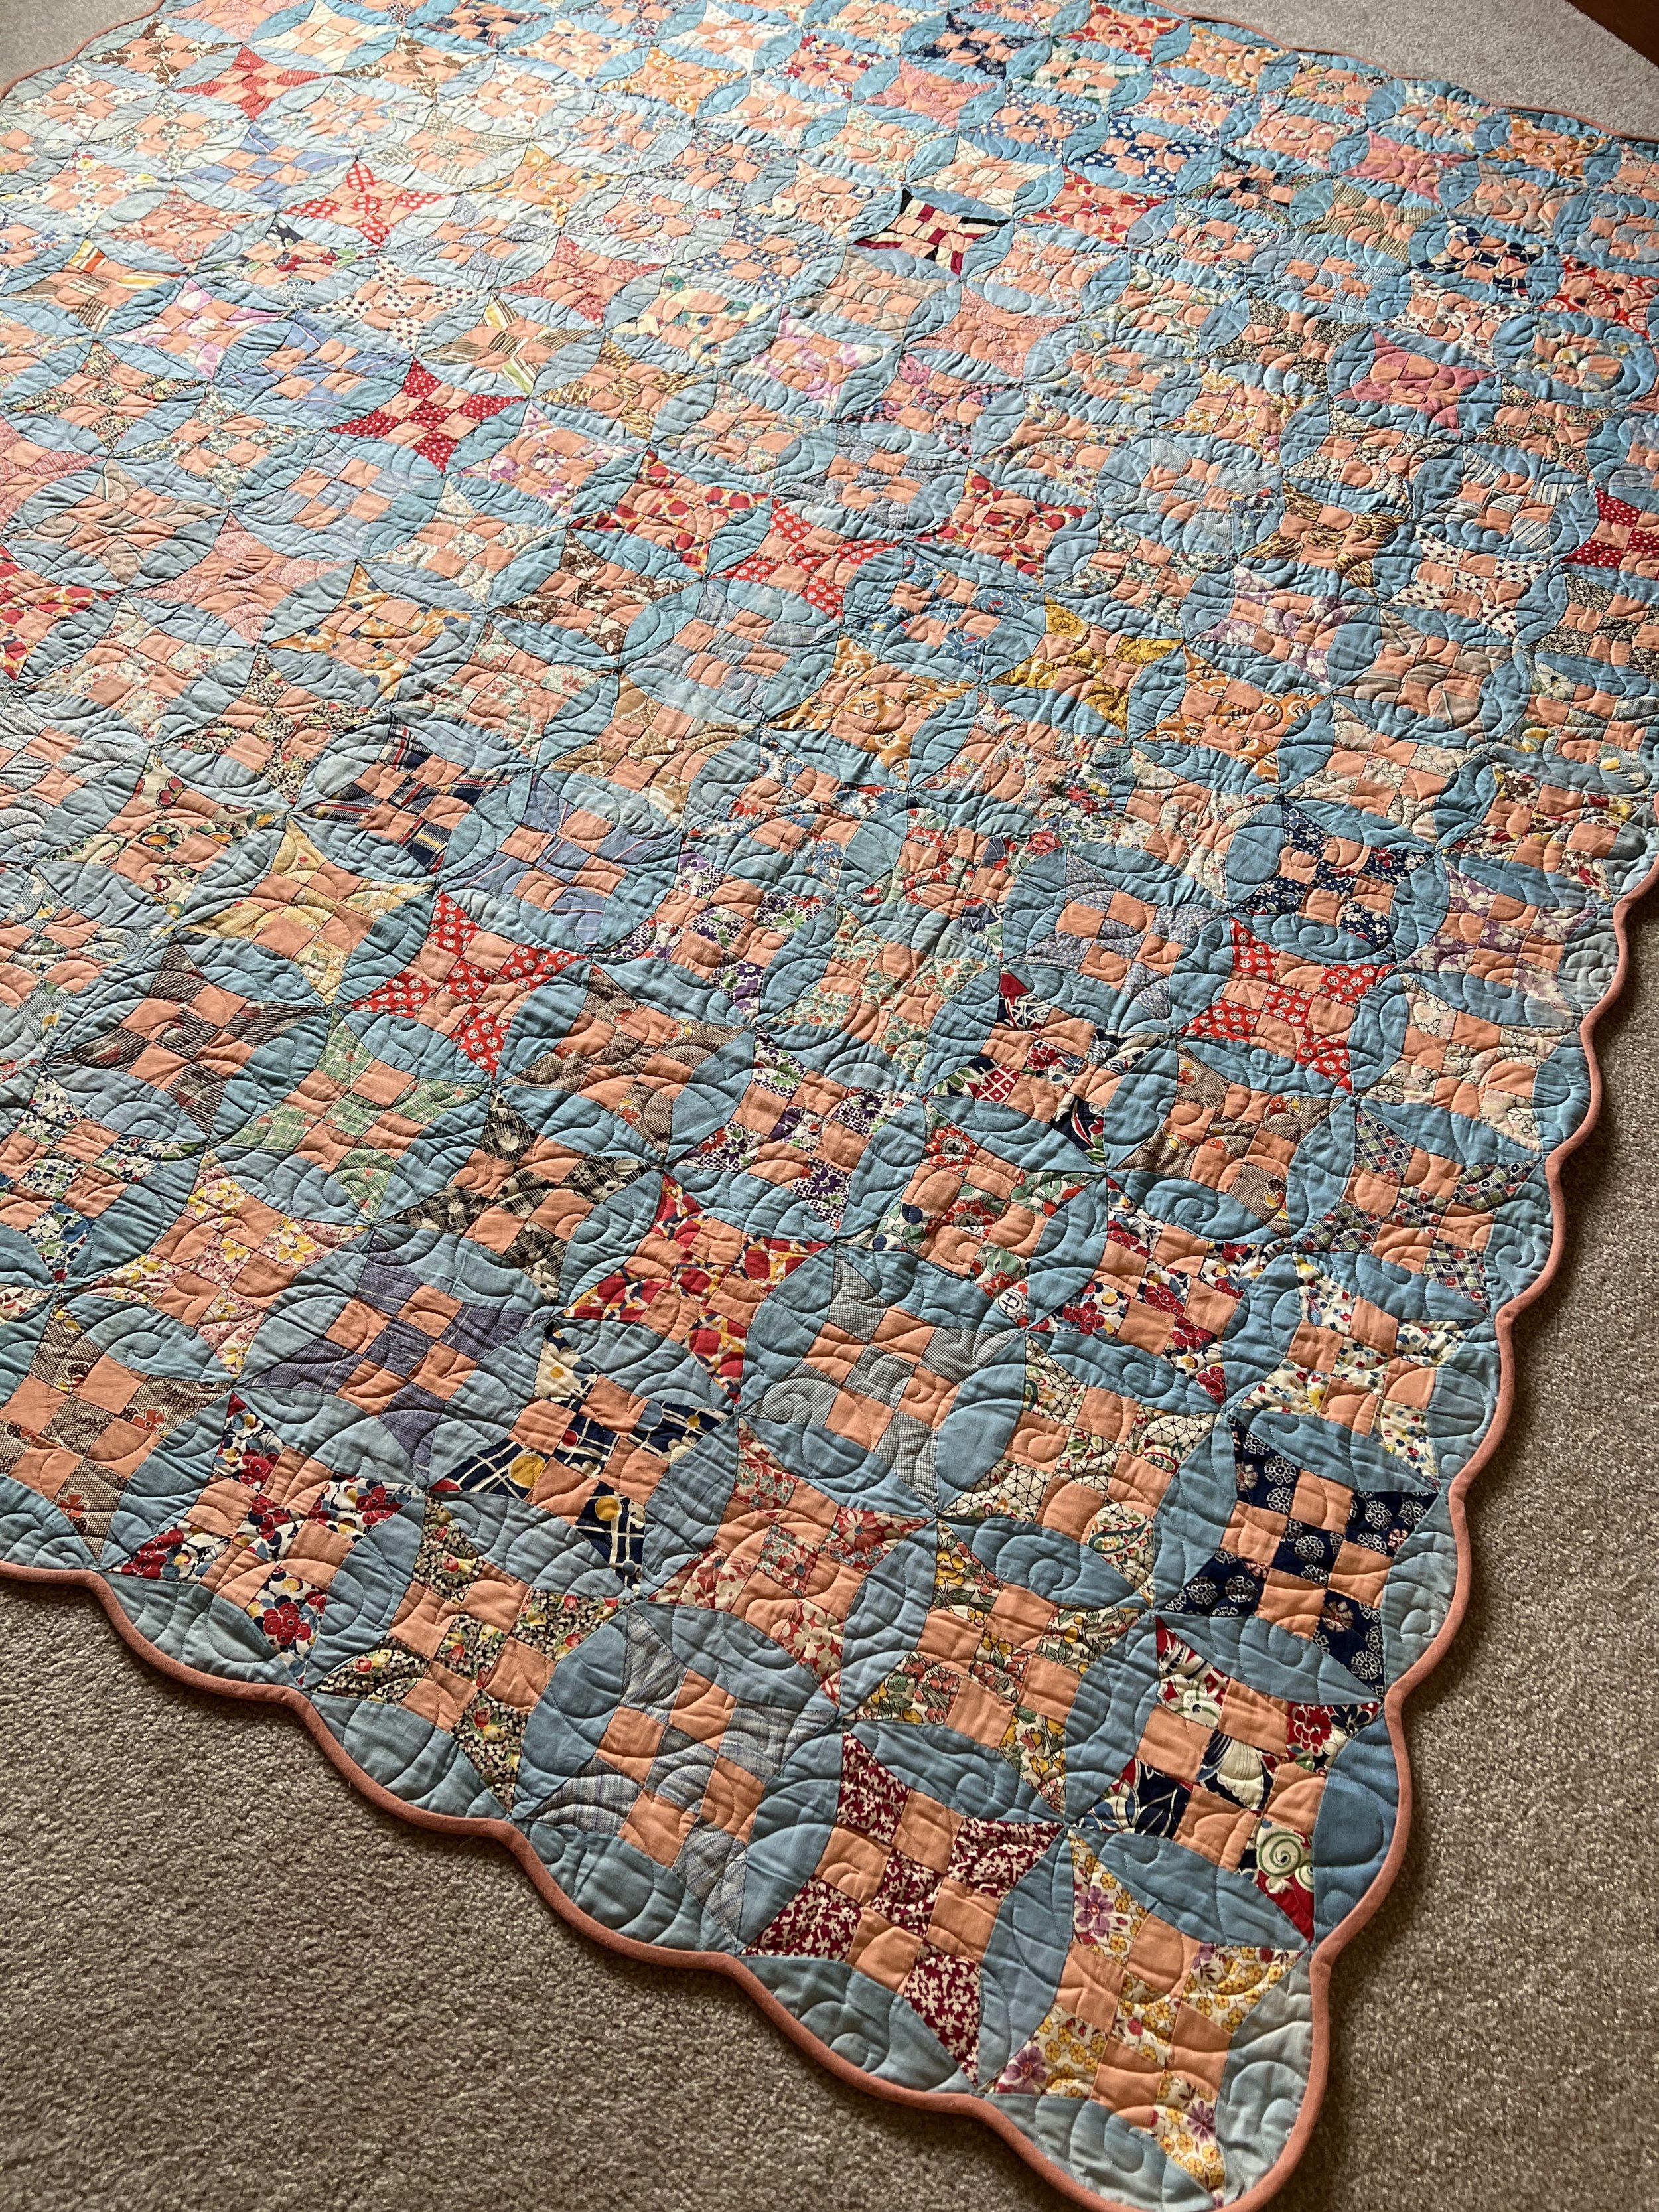
Not in the greatest condition, but worthy for a finish
I picked this top up in Augusta, KS, at the Paramount Antique Mall East. I think I paid $25 for it, which was perfect for its condition. Otherwise, it might have been more. It was all hand pieced and the original maker tackled curved piecing, which I find incredible! This block is known as a Curved, Improved or Glorified Nine Patch, whatever adjective you like best. Any way you look at it, getting a flat block may have been nearly impossible!

Vintage scraps purchased on Ebay are perfect for this quilt
I’m asked OFTEN about preserving quilts and there are different answers, depending on if we are talking about keeping the historical integrity or having a useable quilt. I’m first and foremost a longarm quilter and a finisher, not a certified or trained appraiser, so my views and opinions will vary. When you have a quilt top that has been in your family for many generations, or one you have found in the ‘wild’, it is primarily valuable to you. That sentimental quilt, made by your grandmother, is probably not too valuable to anyone outside of the family.

A patched area of this quilt, can you even see it?
This particular quilt had a few holes. As I said before, I’m not too worried about the historical correctness to a utilitarian quilt. I want to patch, finish and get it done! I simply use some Elmer’s washable glue, tuck a ‘like’ piece under the holes (while on the frame), give it a press with the iron, and quilt over these areas. I’ll go back and whip stitch when it comes off the frame for stability and future washings.

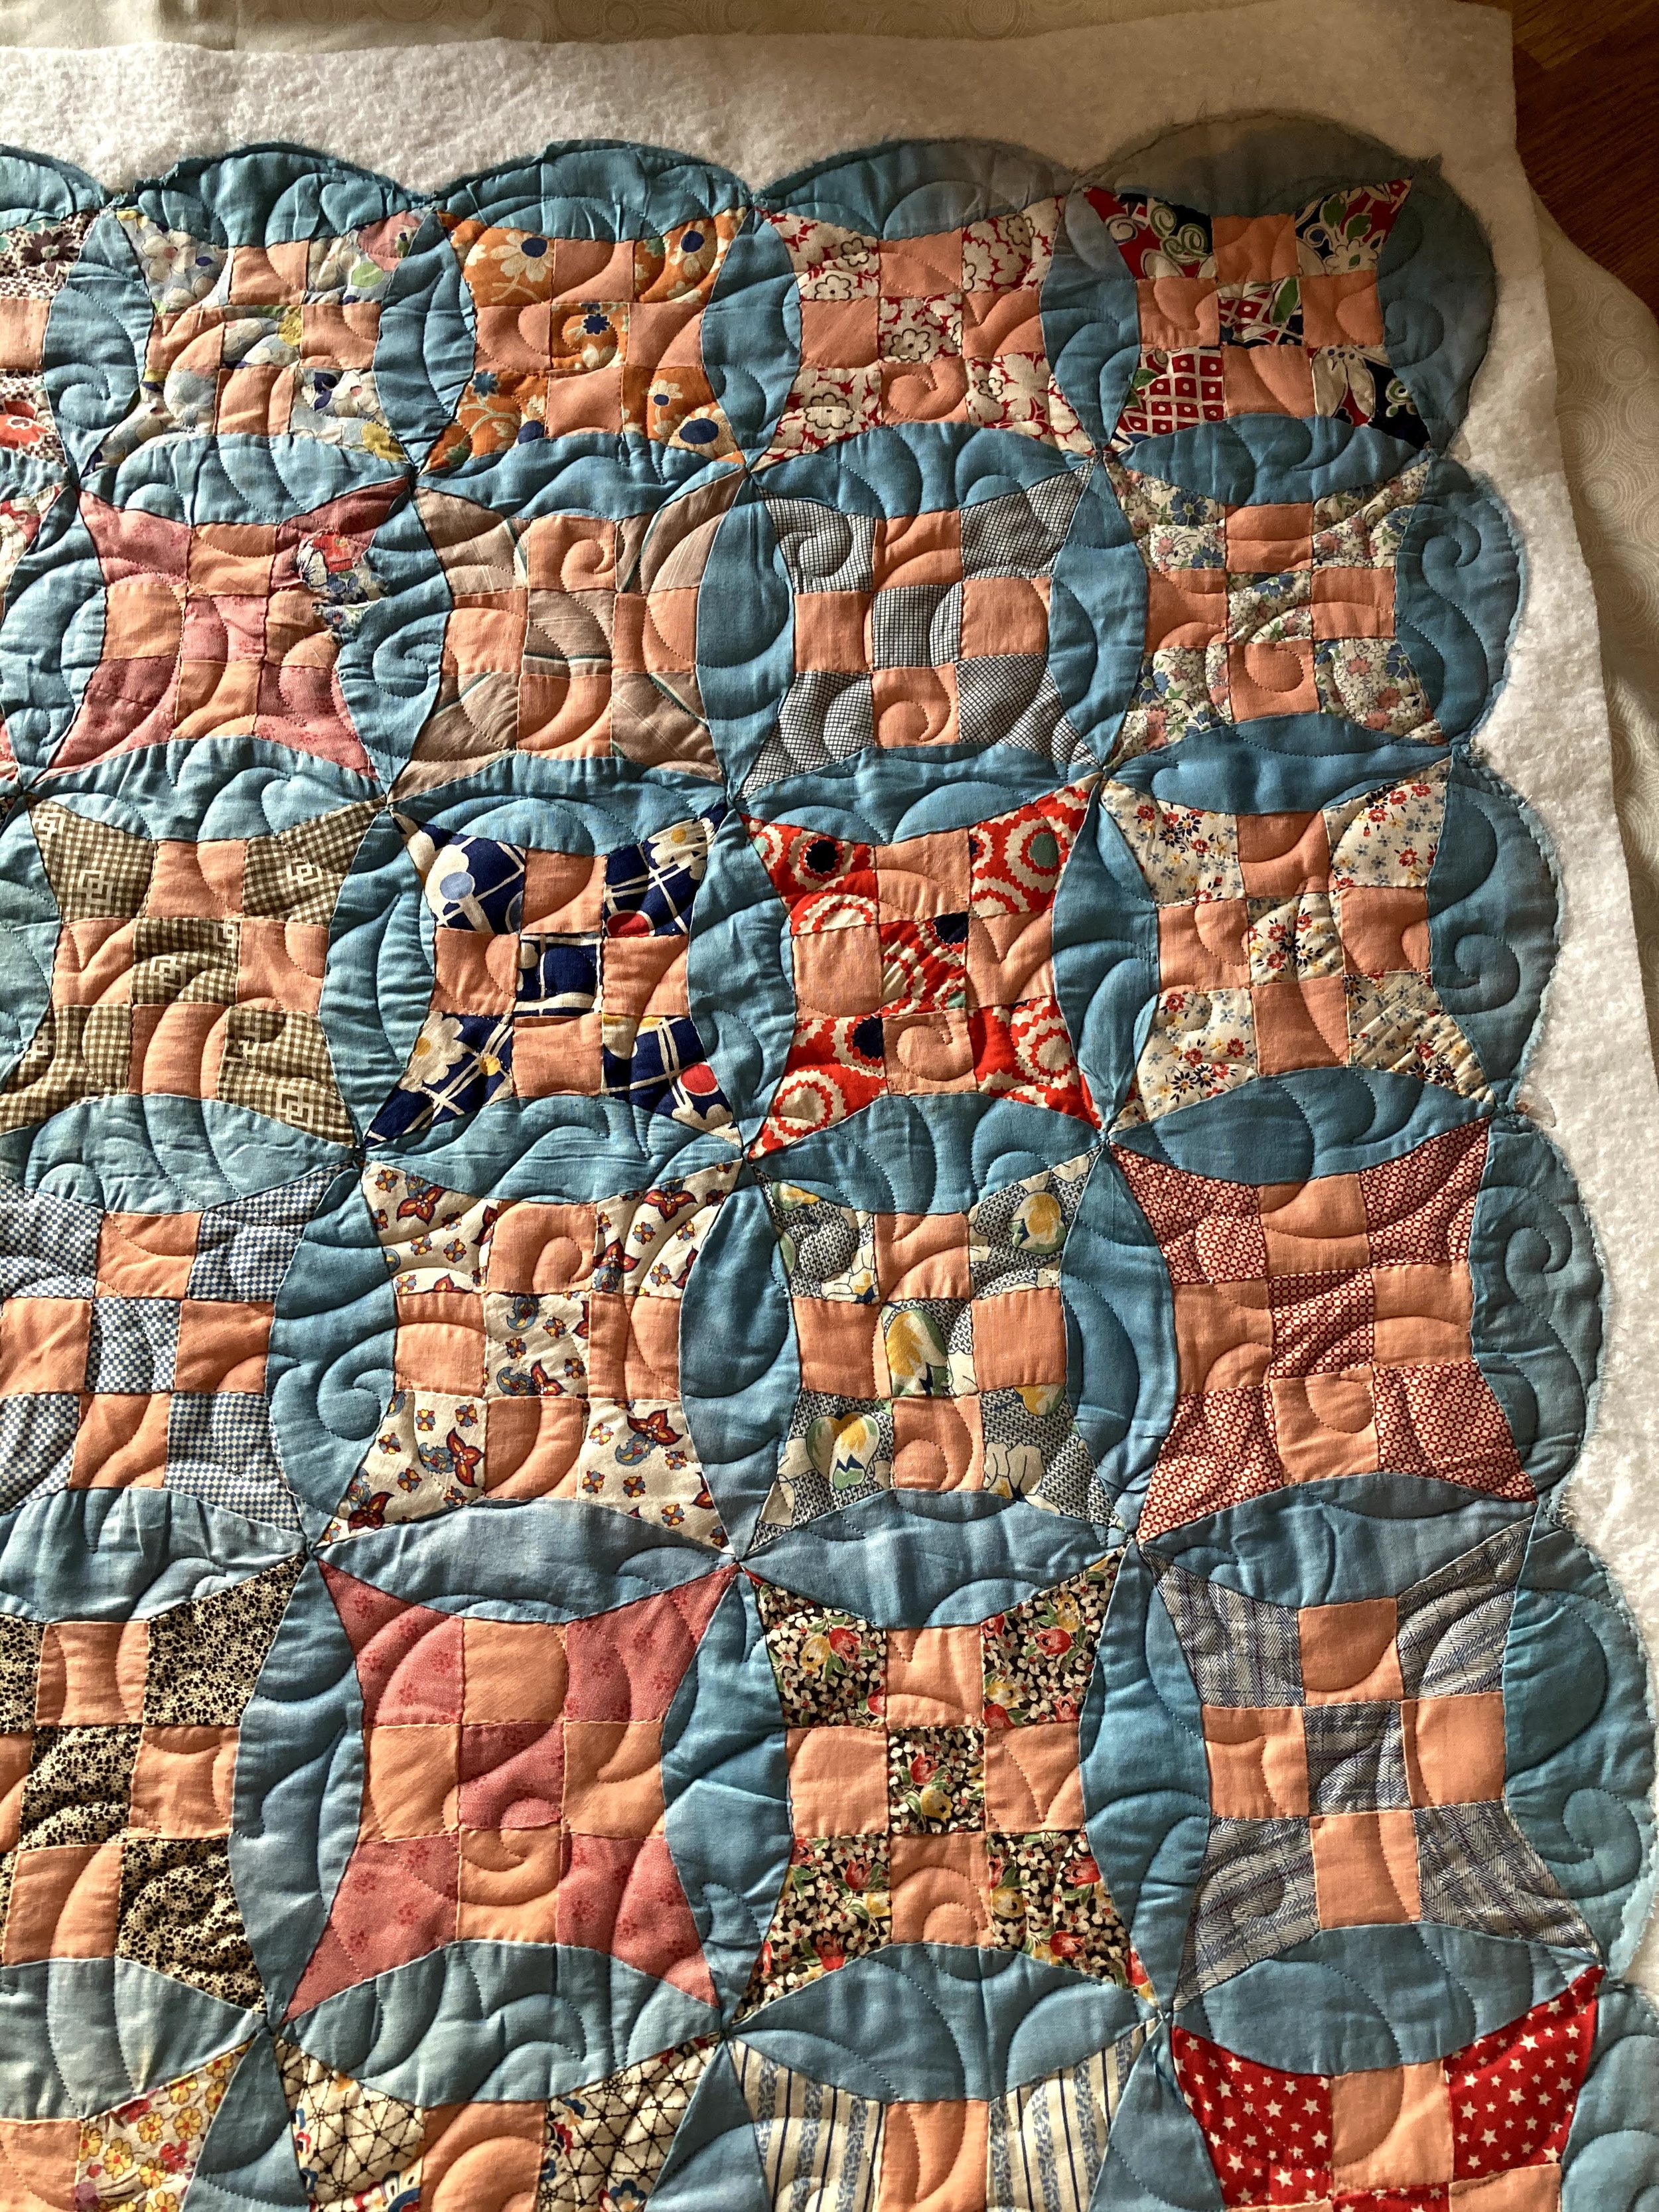
Not many vintage tops are flat, be prepared for this challenge
Another issue of many vintage tops, they are not flat. Most were made using cardboard templates to cut out fabric and then hand pieced. You can see the evidence of that here in the melon areas. I have a pretty good method to deal with waves and wonkiness on a longarm. Find a full video below on the process of this quilt. I think you’ll be fascinated!
The other argument I hear way to often from folks is that if you finish a vintage quilt by machine you are ‘cheating’ or you will destroy the value of the quilt by using modern methods. OK, NOOOOOOO! A machine, whether it be your regular sewing machine or a longarm, will not damage a quilt top. If anything, it will make it stronger. I am able to stitch more densely, therefore, holding parts and pieces in place much better than hand quilting. I’ve done both art-based custom quilting on these types of tops and also simple edge-to-edge quilting. There is no right or wrong way to finish a quilt, the end! Do what brings you joy and finish a quilt in the way that makes you happy!

Starch and steam can really make a difference
You can see that starch and steam on some wavy areas of a quilt can really make a difference. It’s really the only way I know to tame one of these tops (which are most!) and finish with something really beautiful. You can’t stress about perfection in vintage because that word doesn’t exist in my book. Make it as good as you can and get it finished. Truly, once you give this quilt a good wash (soaking, I never wash an old quilt in a machine), you’ll never know what it’s issues might have been. It just becomes a good old quilt!

Coming off the frame
I had never finished a scalloped edge binding on a quilt, so this was a challenge for me. I found a great YouTube video on bias binding, discovered a wonderful salmon colored feedsack in my stash, and it was a breeze. I really think the finish is amazing, especially knowing where this top began.
I simply used scissors to trim the scalloped edge

Sharing her at a quilt show last year

Finished for the maker!!!
Now, how beautiful is that? I love the way it turned out. Every quilt tells a story and this quilter made something beautiful, only to have it damaged at some point, then to find me to fix it up for her! She didn’t have the tools and machines we have now, but wouldn’t she have loved them?
I hope you’ll learn to embrace imperfection and understand there are many ways to do everything in life. No matter what you’re dealing with, there are options. Aren’t we lucky to live in a world that has variety!